How to sharpen and care for kitchen knives: the method that actually keeps an edge
A dull knife doesn't just cut badly. It lies to you. You press harder, your wrist twists, the blade slides off the tomato and lands somewhere near your thumb, and you spend the next ten minutes wondering why you ever trusted a tool that gave up so easily. A knife that's genuinely sharp needs almost no pressure at all. That's the whole point.
But here's the thing I learned the hard way: "sharpening" and "keeping sharp" are two different jobs. Most people do neither. They buy a good knife, use it every day for two years, then wonder why it squashes a bell pepper instead of slicing it.
Key Takeaways
- Honing realigns an edge that's still sharp; sharpening removes metal to rebuild it. You need both, and they're not interchangeable.
- An 800–1000 grit water stone covers 90% of home kitchen needs. Higher grits are for polishing, not for cutting better.
- Match your sharpening angle to the blade — Japanese knives often sit around 15°, most Western knives around 20°.
- The last thing you must do after sharpening is wipe down the blade and dry it completely, then remove the burr if you haven't already.
- Aluminum foil can raise a burr on a dull edge, but it's a trick, not maintenance. Don't build a routine around it.
- A magnetic strip or a knife block beats a drawer every single time. The drawer chips edges quietly and constantly.
I'll be honest: I ruined a decent santoku early on because I thought "sharper" meant "more angles, more force, more gadgets." I dragged it through one of those pull-through sharpeners with three slots, week after week, until the blade was a convex mess that couldn't slice paper. That mistake cost me about €60 and a lot of pride. So let me save you the same experience.
Why a sharp knife changes how you actually cook
There's a version of this advice you've heard a hundred times: "A dull knife is more dangerous than a sharp one because it slips." True. But it undersells the real problem.
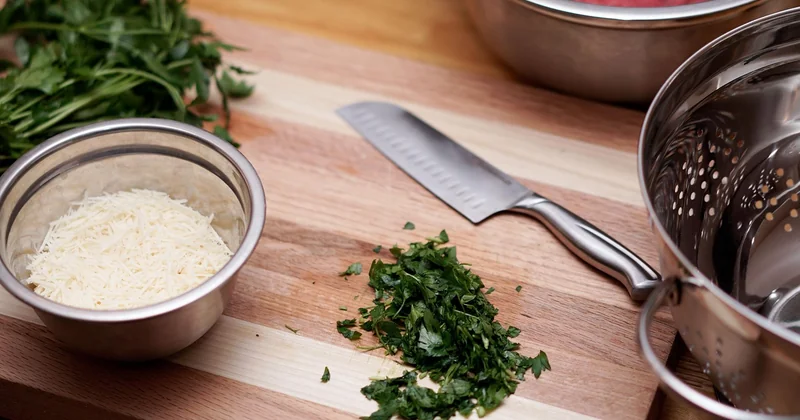
A dull edge doesn't slice food — it crushes it. Soft herbs bruise and turn black within an hour. Tomatoes collapse into mush instead of holding their shape. Meat tears along the grain instead of separating cleanly, and those torn fibers lose more juice on the cutting board. When I switched to a properly maintained knife, the difference in my salsa wasn't subtle. The cilantro stayed green in the fridge overnight instead of the next twenty minutes.
The safety argument, properly explained
The reason a dull knife cuts you is mechanical. A sharp edge bites into the food's surface and stays there. A dull edge skates across it. To compensate, you push harder, and harder means less control. The moment the blade catches, it's moving faster than your hand can respond.
So the safety pitch isn't really about the blade. It's about your grip and your patience, and a sharp knife protects both.
How often should you sharpen, really?
Forget the calendar. It depends on three things: the steel, how much you cook, and what you cut on.
- A good carbon or high-hardness stainless blade used daily on a wooden board can hold an edge for several weeks.
- Cut on glass or ceramic and you'll be back to honing within days.
- Run it through the dishwasher and all bets are off — heat and detergent attack the edge and the handle.
The honest test takes five seconds. Hold a sheet of paper by one corner and try to slice downward. Clean cut, you're fine. Snagging or folding, time to do something about it.
Honing vs. sharpening: stop confusing the two
This is the single most useful distinction I can hand you, and it's the one most home cooks never get taught.
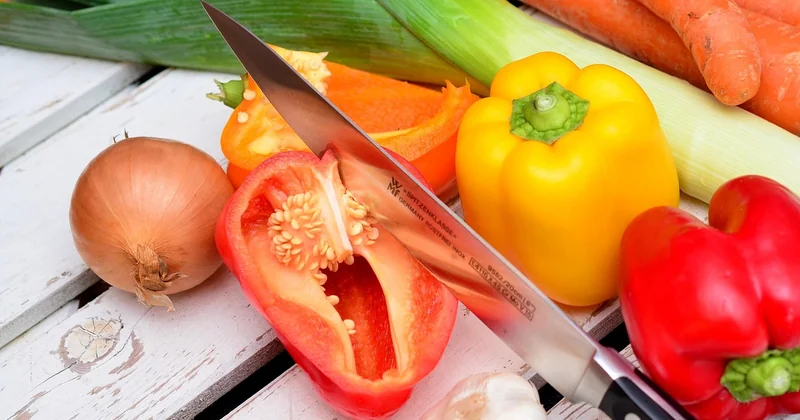
Honing uses a rod to push a rolled edge back into alignment. It removes almost no material. Do it before or after most sessions. Sharpening grinds away metal to create a fresh edge. You do it when honing stops working.
If you only ever hone, you're just straightening a blade that's slowly wearing down. If you only ever sharpen, you're wasting steel and shortening the knife's life for no reason.
How to use a honing rod without wrecking the edge
Hold the rod vertically, tip resting safely, or at a slight angle on a folded towel. Lay the blade against it at roughly the angle the factory set — around 15° for thin Japanese knives, 20° for chunkier Western ones. Now here's where most people go wrong: they saw back and forth. Don't.
Draw the blade down and across in one smooth stroke, edge leading, heel to tip, light pressure. Five strokes per side. If you've never done this, you'll scrape and clang for the first week. That's normal.
When honing stops working
If ten passes on the rod change nothing, the edge is gone, not bent. Put the rod down. You need to remove metal now.
What is the best way to sharpen kitchen knives at home?
The water stone, by a wide margin — and I say that as someone who resisted it for a year because it looked like too much hassle.
A stone gives you control the other tools can't. You set the angle, you feel the burr form, you decide how much metal goes. The trade-off is a learning curve. My first attempt on a cheap 1000-grit stone produced an edge that was sharper in the middle and blunt at the tip, because I let my wrist rise. That's the classic beginner flaw.
Choose your grit based on the job. Around 800 to 1000 grit is the workhorse for maintaining a kitchen knife. Lower than that, you're repairing damage. Higher than 3000, you're polishing a blade that will slice paper beautifully and cut a tomato no better.
The water stone method, step by step
- Soak the stone until bubbles stop rising, usually ten to fifteen minutes for a soaking stone.
- Set the angle. Two stacked coins under the spine is a decent rough guide for a 20° edge.
- Push the edge across the stone in sections, heel to tip, keeping the angle locked.
- Work until you feel a burr along the entire opposite side. This is the signal you've reached the edge.
- Flip and repeat on the other side.
- Move to a finer grit if you have one, then finish with a few very light alternating strokes.
What is the last thing you must do after sharpening a knife?
Wipe the blade clean and dry it completely — and before that, make sure the burr is gone. A freshly sharpened knife carries a thin, folded flap of metal along its edge that feels sharp but folds over the moment it hits food. A few light passes on the stone or a couple of careful strokes on a honing rod remove it. Then wash off the metal slurry and dry the blade immediately, because that gray paste will rust a carbon steel knife overnight if you leave it sitting. Dry means dry — not "wiped and left on the rack."
The alternatives, and when they're fine
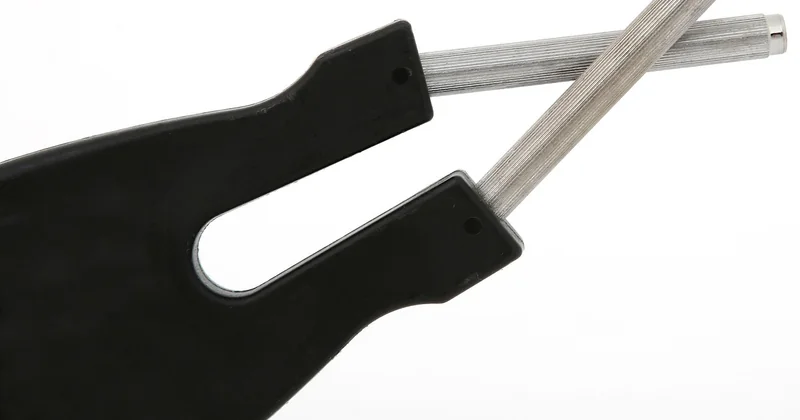
Guided systems clamp the blade and hold the angle for you. Great if you're genuinely all thumbs. Pull-through sharpeners with three slots take off a lot of metal fast and shorten blade life, so I'd keep one for a beater knife and nothing else. Electric sharpeners are convenient and aggressive in equal measure.
| Method | Control over angle | Metal removed | Best for |
|---|---|---|---|
| Water stone | Full — you set it | Minimal to moderate | Anyone willing to practice |
| Honing rod | Manual, approximate | Almost none | Weekly upkeep between sharpenings |
| Guided system | Fixed by the clamp | Moderate | Beginners who want repeatable results |
| Pull-through (3 slots) | None | Heavy | Cheap knives only |
| Electric sharpener | None | Heavy and fast | Bulk work, not fine blades |
My honest recommendation: buy one decent 1000-grit stone and a rod. That's the entire kit. Everything else is optional.
What are common sharpening mistakes?
Most of the damage I see comes down to a handful of repeat offenders, and I've committed every one of them.
- Inconsistent angle. The blade wobbles as you stroke, so you're rounding the edge instead of forming it. Slow down.
- Pressing hard to "speed things up." Pressure doesn't sharpen; it gouges. Let the abrasive do the work.
- Skipping the burr check. If you never feel the burr, you don't know whether you've reached the edge at all.
- Moving to a fine stone too early. Polishing a dull edge just gives you a shiny dull edge.
- Letting the stone dry out mid-session. A glazed stone stops cutting and starts burnishing.
- Sharpening at a wildly different angle than the factory set, which means you spend the first ten minutes grinding a new bevel instead of touching up the old one.
And the biggest one of all: waiting until the knife is completely dead. Touch-ups take two minutes. Rescuing a destroyed edge takes an evening.
Does aluminum foil sharpen knives?
Sort of, and only barely. Fold a sheet of foil into a few layers, run the blade through it edge-first a dozen times, and the abrasive aluminum oxide can knock off a burr and marginally realign a slightly worn edge. It's the same principle as stropping on cardboard.
But it does not remove enough metal to rebuild a genuinely dull edge, and it won't hold up as a routine. If a knife is gone, foil isn't bringing it back. Keep it as an emergency trick when you're cooking somewhere with no equipment, and don't let anyone convince you it replaces a stone.
The care routine that keeps an edge alive
Sharpening is an event. Care is a habit, and the habit is what determines how often you're forced to sharpen at all.
Washing, drying, storing
Wash by hand with warm water and a little soap, then dry immediately with a towel. Never soak a knife, and never leave it wet on the rack — especially carbon steel, which will spot and pit within hours. The dishwasher is out, full stop. The heat, the detergent, and the tumbling against other items all work against you.
Storage matters more than people think. A magnetic strip on the wall or a slot in a block keeps the edge from touching anything. A crowded drawer chips it every time you open it.
Cutting surfaces and reactive blades
Wood and soft plastic are kind to edges. Glass, ceramic, and stone boards are not — they'll dull a knife noticeably faster, and you'll feel it within a week of daily use. Pick your board the way you'd pick your shoes.
If you own a carbon steel knife, don't panic when it darkens. A gray-blue patina is protective and harmless. Orange-brown rust is not, and it needs to come off with a little gentle abrasive and oil. High-hardness Japanese blades chip rather than roll, so keep them away from bones and frozen food. I learned that one with a thin gyuto and a chicken carcass, and I'd rather not talk about it further.
Sharpen rarely, hone often, dry always. Do those three things and a good knife will outlast most of the appliances in your kitchen — and you'll stop flinching every time you reach for the board.